Are you considering upgrading your home’s kerb appeal with the addition of a resin driveway? You’ve come to the right place! Resin driveways are not only visually appealing, turning heads in your village, but they are also durable, low maintenance and is a compliant drainage system. But what is the process behind installing a resin driveway? Keep reading to discover a step-by-step guide on what to expect.
At Resins ‘R’ Us, we provide a wide range of blends to choose from to elevate your property. Once you have found the perfect blend for you, or created your own bespoke blend, we can provide you with a list of our approved resin-bound installers, creating a seamless and efficient installation process.
- Initial Consultation and Site Assessment
The journey of achieving your dream property begins with an initial consultation with a reputable resin driveway company or one of our approved installers. During this phase, you’ll discuss your vision, preferences, and budget. The installer will assess your site and evaluate the current surface and drainage conditions, measure the area and identify any potential challenges.
- Preparation and Groundwork
Proper preparation is crucial for the strength and longevity of your resin driveway. This stage involves clearing the area of any debris, vegetation, and old surfaces. The groundwork will involve a dig out in order to prepare the area for a suitable sub-base.
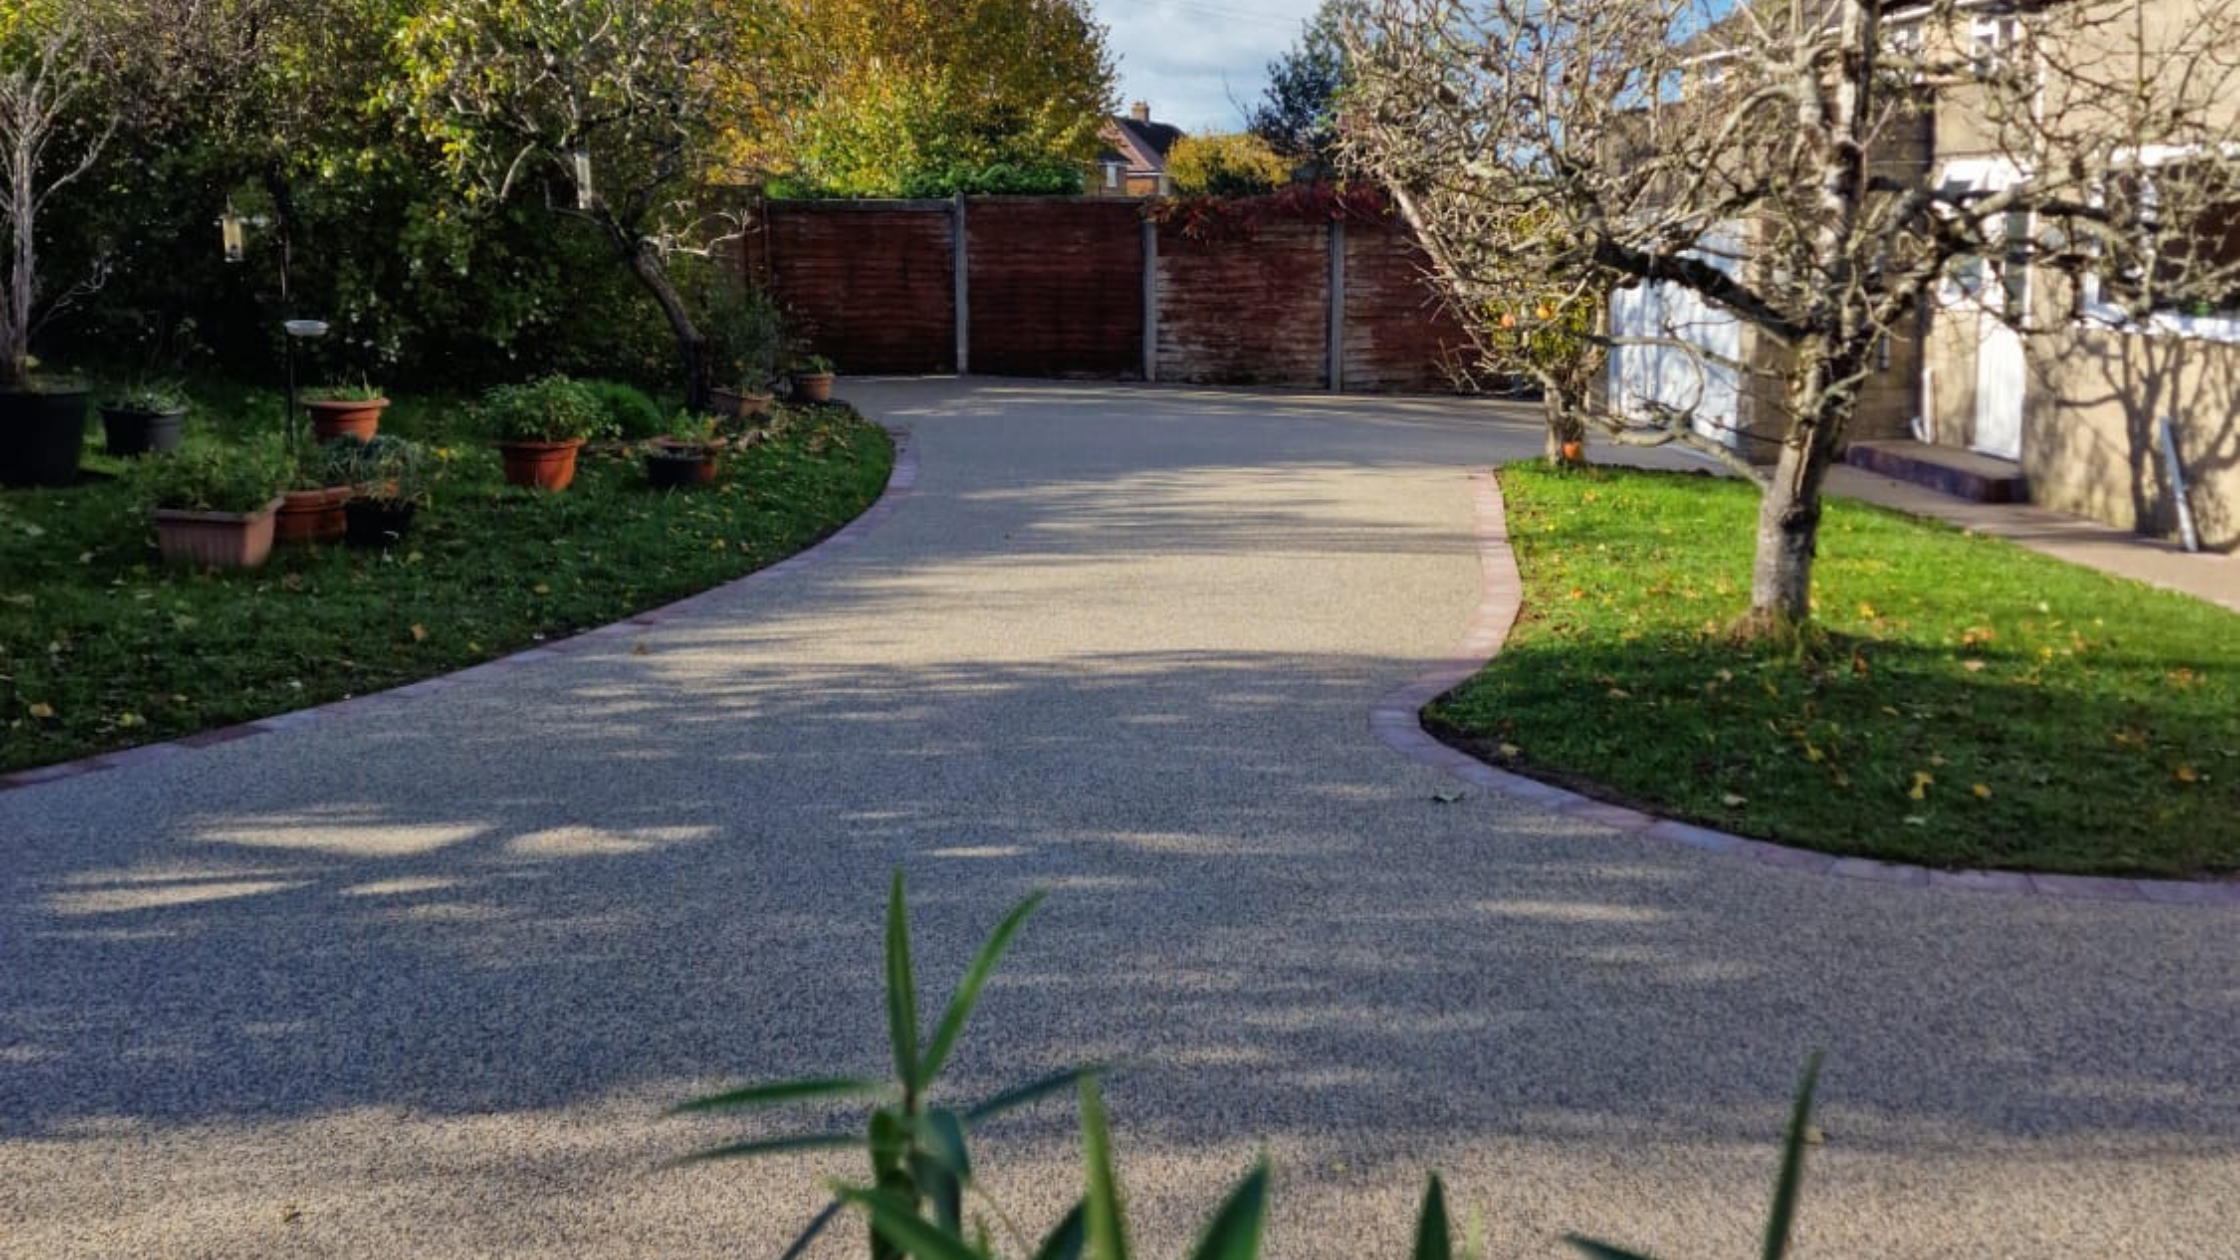
- Edge Restraints Installation
Edge restraints are essential to provide a neat and clean finish and will be used to compliment your resin surface as well as keeping the resin from spreading from the main installation area. These can be made from various materials such as block paving, timber and metal edging strips. Whichever suits your vision best.
- Laying the Base Layer
The base layer, typically of tarmac or concrete, is laid to create a solid foundation for the resin. This layer is done as one continuous base surface that is flat and even, as it affects the finish of the final surface.
- Mixing and Laying the Resin
The resin surface is formulated by combining a UV-stable resin kit with the blends and aggregates that has been chosen. Once mixed, the mixture is then poured into a wheelbarrow and transported to the trowelling team.
- Spreading, Trowelling and Finishing
Once the resin mixture has been brought to the trowelling team, the mixture will be spread across the surface at a set depth before being trowelled smooth. This step requires skill and precision to achieve a flat, seamless look that resin driveways are known for.
- Curing and Setting
After your driveway has been laid and smoothed, it requires time to cure and harden. This period is crucial for the durability and strength of your new driveway. During this time, it’s important to avoid walking on or parking vehicles on your freshly laid driveway.
- Final Inspection
Once your new resin driveway has fully cured, the installer will conduct a final inspection to ensure that the surface is void of any anomalies and that everything meets the highest standards. After this, your resin driveway is ready for you to enjoy!
Every installer has their own process, this blog post is aimed to provide you with a rough guide of what to expect.
Maintenance tips
Resin driveways offer low maintenance but require care to preserve its beauty and durability. Regular cleaning/sweeping debris off the surface and a pressure washer is required to maintain a clean appearance. Check out our recent blog post How to Maintain Your Resin-Bound Driveway to find out more.
How Can Resins ‘R’ Us Help You With Your Resin-Bound Driveway?
We can take the hassle out of finding a reputable resin installer with our long list of Resins ‘R’ Us approved installers, ready to help bring your dream driveway to life.
Want To Find Out More?
Get in touch by sending an email to sales@resinsrus.co.uk or give us a call on 01508 500888.

